Service Tracking
To begin to create a service tracking log in the Brolly app, select Service Tracking on the Home Screen.

Next, select "Use a Log Template" to use any of your log templates or to continue without a template then select "Start Logging".

If using a template, you will see your templates appear to select from. Click on the template you would like to use. If not using a template, move to the next step.

On the next popup, enter the general information for the service session. This should include the date, time, notes that you would like to apply to all students (you can skip this and add for individual students if you prefer) and setting (optional). Once you complete this information, selected "Confirm" in the right-hand corner of the popup screen.

If using a template, you will see the students appear on this page. If you are not using a template, click "+Students" in the bottom right hand corner to select the students you would like to log for. You can also click "+Students" to add additional students if you selected a template.

After selecting "+Students", a popup will appear with the students on your caseload. Select the circle next to the students name so it is checked. Once you've select all your students click "Confirm" in the upper right hand corner of the popup.

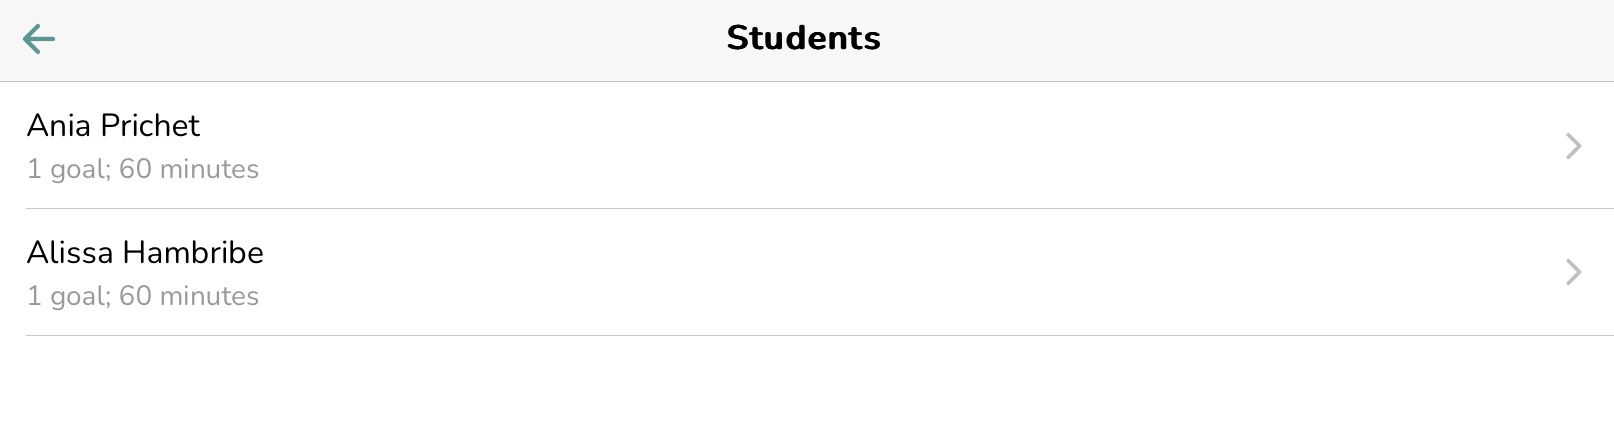
Next, you will see the students you've selected to log for. Click on the name of a student to add additional information to their service tracking log.
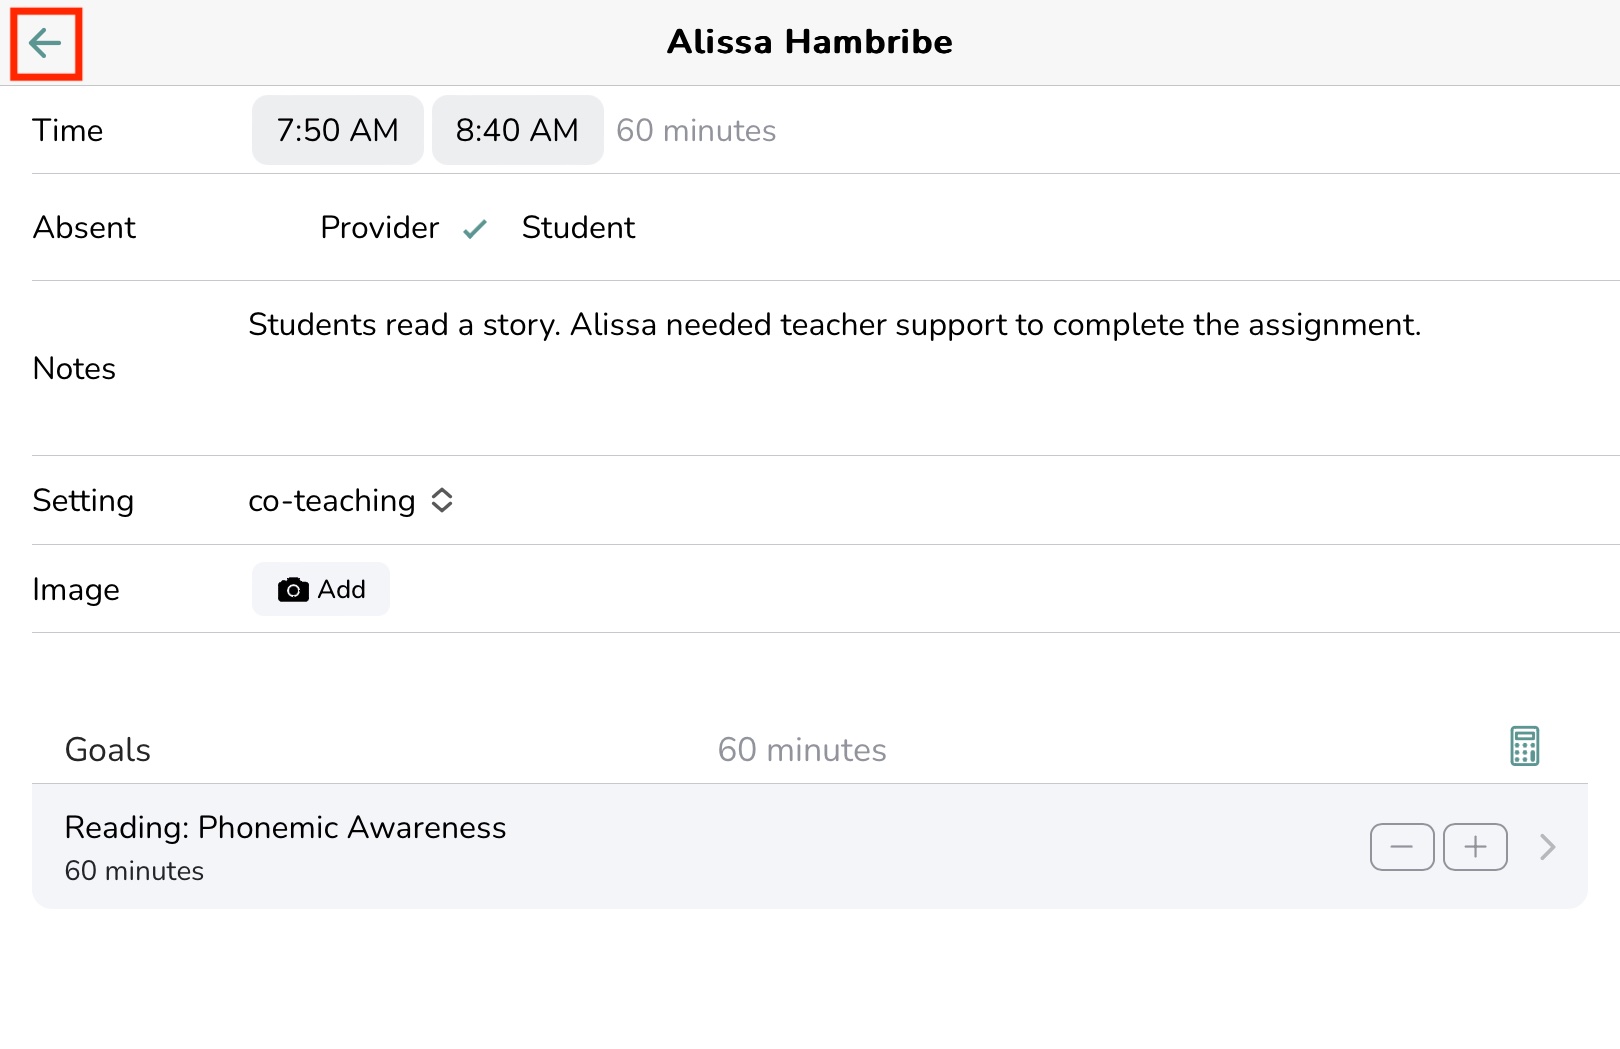
Once you've selected a student, you will have the option to add additional information for that student's log.
If you are using a template with the goals included, you will see the goal appear. If you do not see a goal auto-populate, click on "+Goals" to select a goal or goals to connect to the service tracking log.


Once you select "+Goals", you will see a popup with that student's goals available. Click the bubble next to the goal or goals you would like to select. To see the goal itself, click on the "i" to see the goal text.

After selecting the student goal(s), you can now complete the other information for the students log.

When you've completed the student's service log, click the arrow in the top left-hand corner to return to the other students you are logging for.
Continue to select the students you are logging for and enter information as mentioned above.
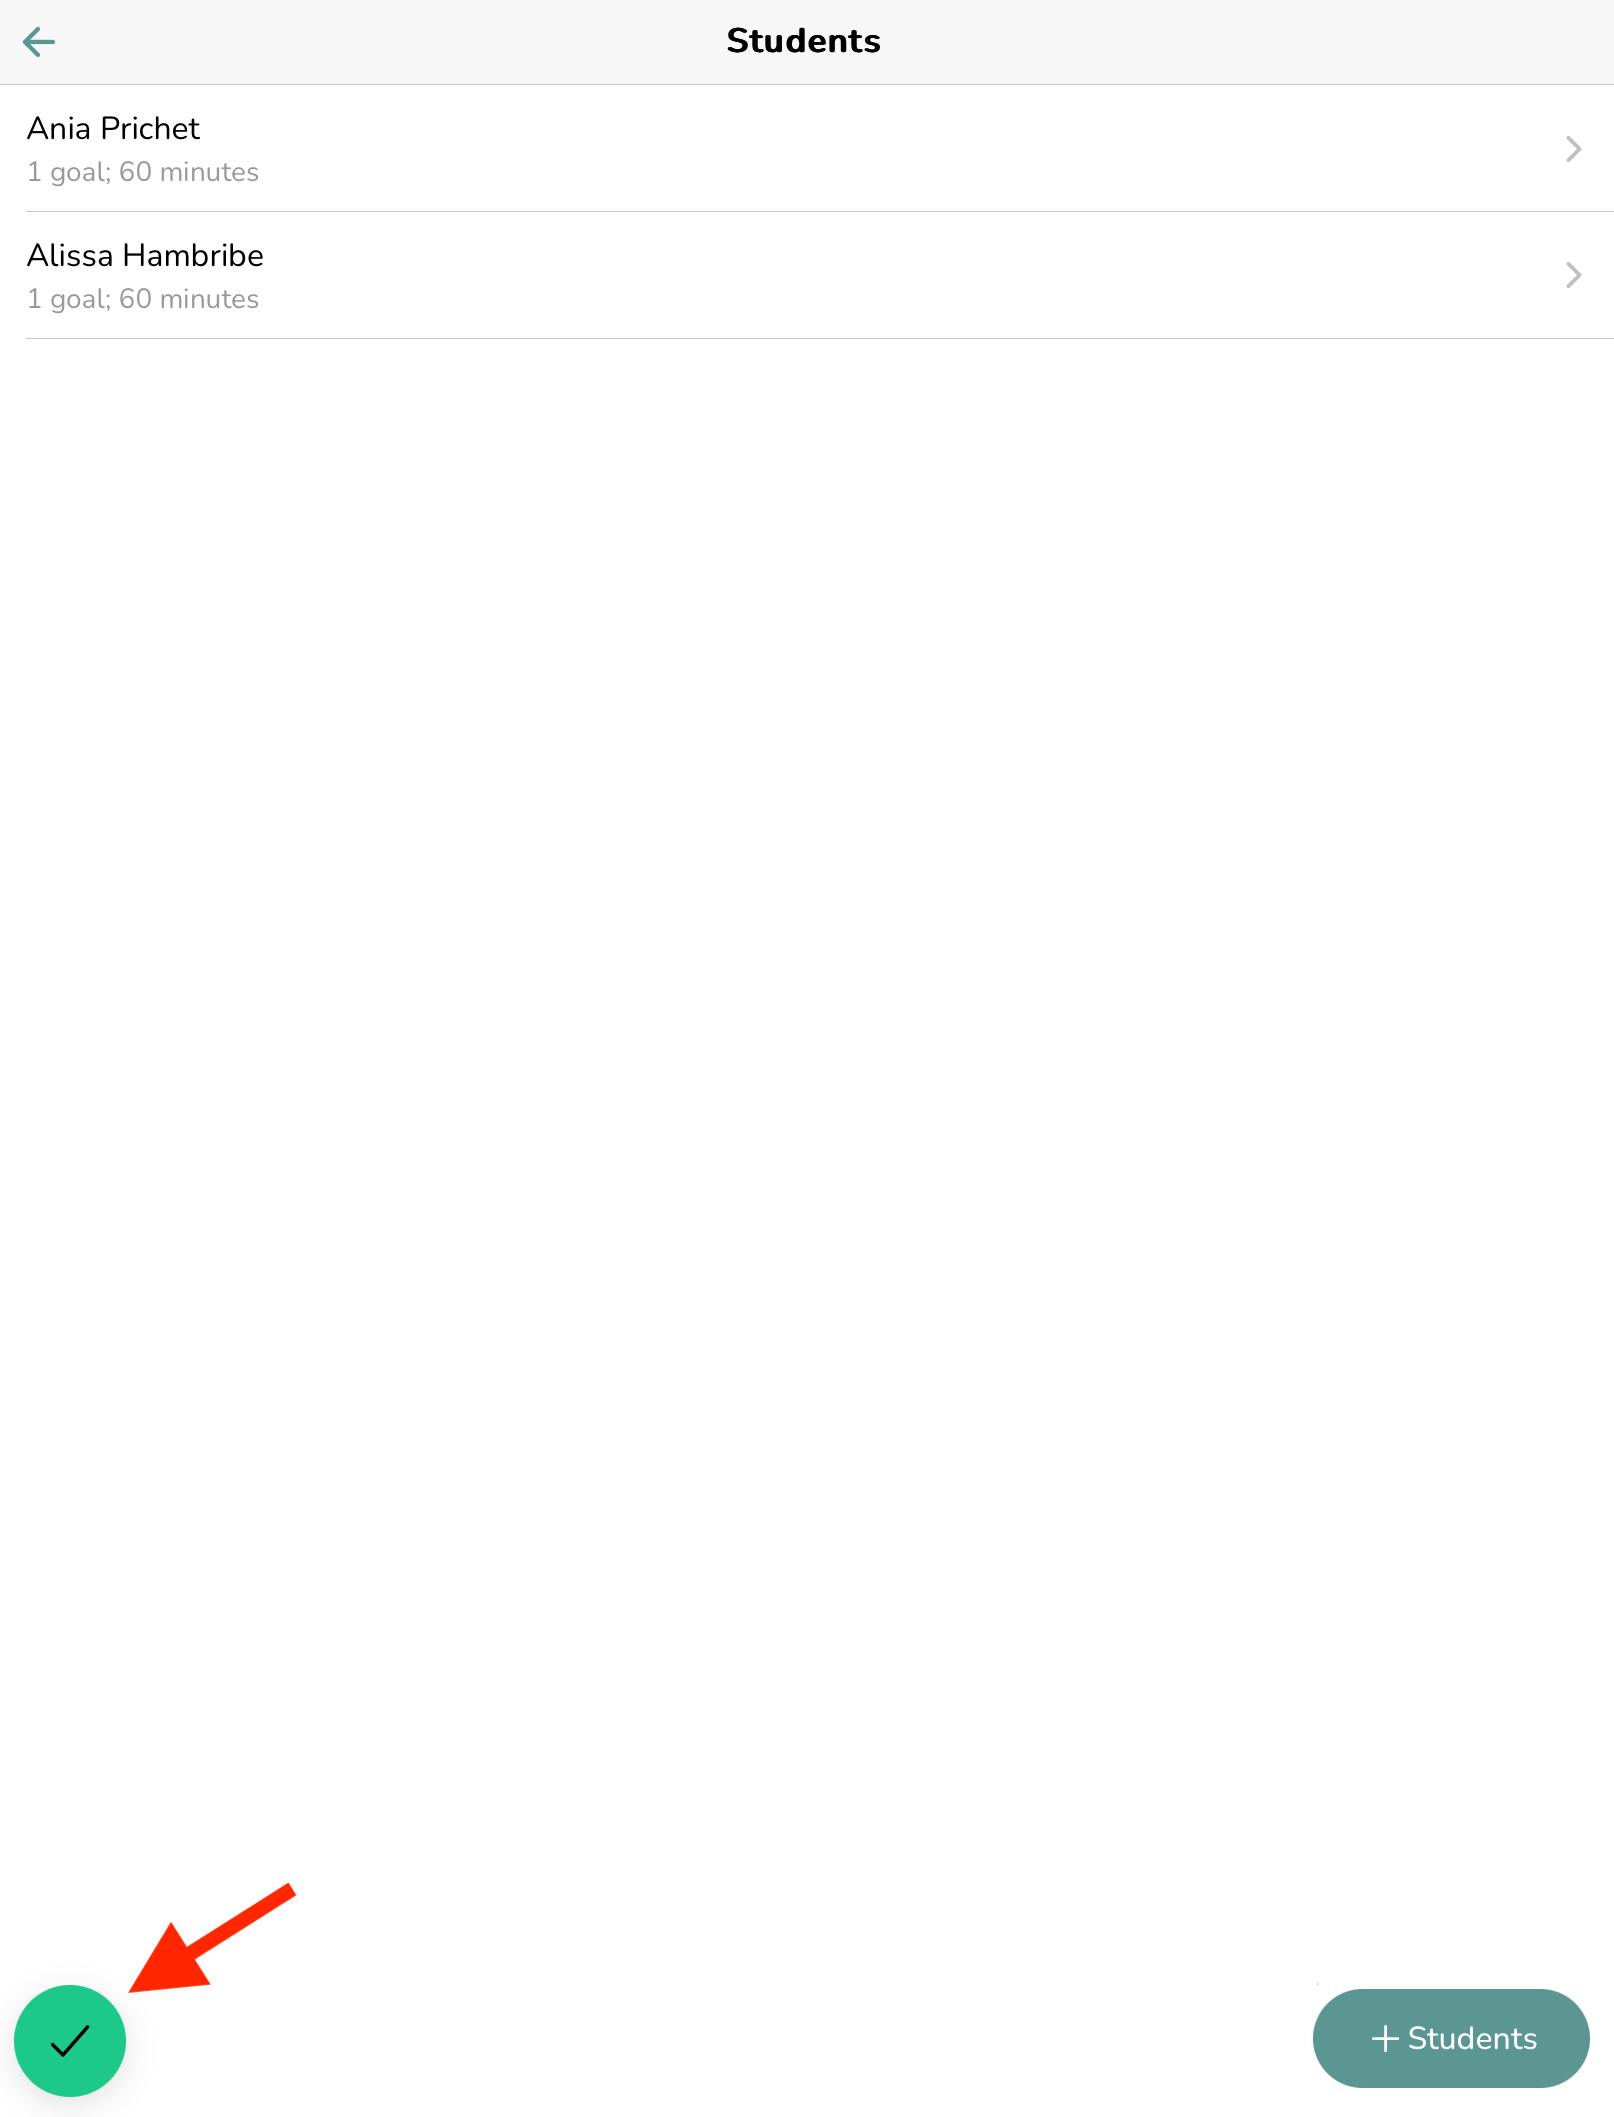
When finished creating service tracking logs for all students, go back to the student page and click the green check mark in the bottom left-hand corner to submit.
Next, review the logs in the popup to make sure the information entered is correct. If correct, click "Submit."
